

How to install an industrial panel computer?
Installing an industrial panel computer might seem like a daunting task, especially if you're not well - versed in the technicalities of such devices. As an industrial panel computer supplier, I've helped numerous clients through the installation process, and I'm here to share a comprehensive guide to make it easier for you.
Understanding Your Industrial Panel Computer
Before you start the installation, it's crucial to understand the specifications and requirements of your industrial panel computer. Industrial panel computers come in various sizes, such as the [16'' 19 inch Industrial Panel Computer](16'' 19 inch Industrial Panel Computer). These computers are designed to operate in harsh industrial environments, so they are built with robust components and often have special features like dust - and water - resistance.
First, check the user manual that comes with your panel computer. It will provide detailed information about the power requirements, dimensions, and any specific installation instructions. You'll also need to gather the necessary tools for the installation, which typically include a screwdriver, drill (if mounting on a wall), and possibly a cable management system.
Selecting the Installation Location
The location where you install your industrial panel computer is of utmost importance. It should be a place that is easily accessible for maintenance and operation but also protected from potential hazards. Here are some factors to consider when choosing the installation location:
Environmental Conditions
Industrial environments can be harsh, with factors like dust, moisture, extreme temperatures, and vibrations. Make sure the location you choose is protected from these elements. For example, if the area is prone to dust, consider installing the panel computer in an enclosure with proper filtration.
Accessibility
The panel computer should be easily reachable for operators to input data and perform tasks. Avoid installing it in a location where it would be difficult to access, such as in a cramped corner or behind large machinery.
Visibility
The screen of the panel computer should be clearly visible under normal working conditions. Consider the lighting in the area and the angle at which the screen will be viewed.
Mounting the Industrial Panel Computer
There are several ways to mount an industrial panel computer, and the method you choose will depend on your specific requirements and the location.
Wall Mounting
Wall mounting is a popular option as it saves space and provides a stable installation. Here's how you can do it:
- Mark the Mounting Holes: Use the template provided in the user manual to mark the locations of the mounting holes on the wall. Make sure the surface is flat and sturdy.
- Drill the Holes: Use a drill to create the holes at the marked locations. The size of the drill bit will depend on the type of screws or bolts you'll be using.
- Attach the Mounting Bracket: Place the mounting bracket over the holes and secure it using the appropriate screws or bolts.
- Mount the Panel Computer: Carefully place the panel computer onto the mounting bracket and secure it in place. Make sure it is level and firmly attached.
Panel Mounting
Panel mounting involves installing the panel computer into a control panel or a cabinet. This method is often used in industrial control systems.
- Cut the Opening: Use a saw or a router to cut an opening in the panel or cabinet that matches the dimensions of the panel computer.
- Insert the Panel Computer: Carefully insert the panel computer into the opening. Make sure it fits snugly.
- Secure the Panel Computer: Use the provided mounting hardware to secure the panel computer to the panel or cabinet.
Connecting the Cables
Once the panel computer is mounted, you need to connect the necessary cables. This includes power cables, data cables, and any other peripheral cables.
Power Connection
The power cable is the most important connection. Make sure you use the correct power supply for your panel computer. Check the voltage and current requirements specified in the user manual. Connect the power cable to the panel computer and then to a reliable power source.
Data Connections
Depending on your needs, you may need to connect data cables such as Ethernet cables, USB cables, or serial cables. These cables are used to connect the panel computer to other devices, such as printers, scanners, or servers. Make sure the connections are secure and that the cables are properly routed to avoid any interference.
Peripheral Connections
If you're using peripherals like a keyboard, mouse, or touchscreen, connect them to the appropriate ports on the panel computer. Test each peripheral to ensure it is working properly.
Configuring the Industrial Panel Computer
After the physical installation and cable connections are complete, you need to configure the panel computer.
Operating System Installation
If your panel computer comes without an operating system installed, you'll need to install one. This usually involves inserting a bootable USB drive or DVD and following the installation wizard. Make sure you choose the appropriate operating system for your industrial applications.
Software Installation
Once the operating system is installed, you can install the necessary software for your specific industrial tasks. This may include control software, monitoring software, or data management software.
Network Configuration
Configure the network settings of the panel computer to connect it to your local network or the internet. This may involve setting up an IP address, subnet mask, and gateway.
Testing the Industrial Panel Computer
After the installation and configuration are complete, it's time to test the panel computer.

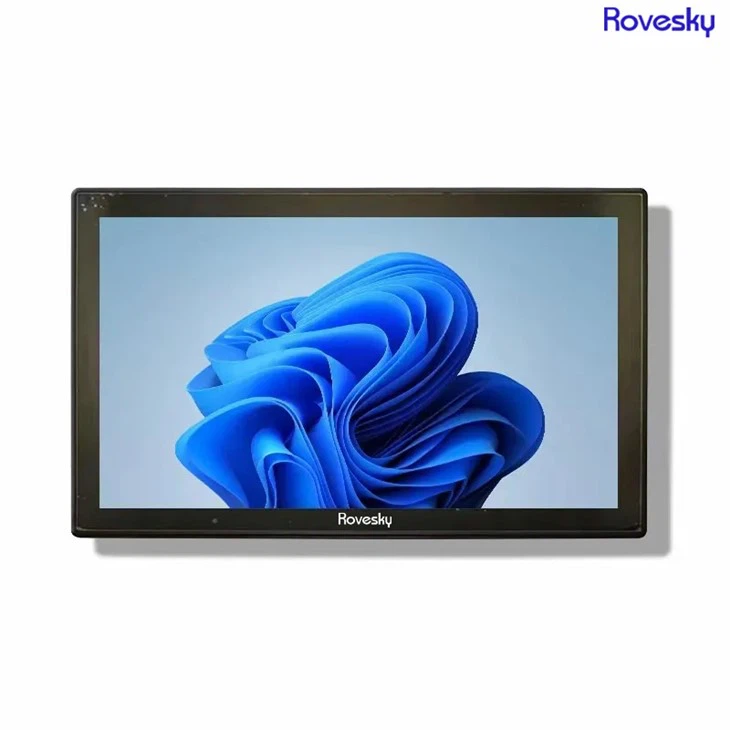
Power On
Turn on the panel computer and check if it boots up properly. If there are any error messages, refer to the user manual or contact technical support.
Functionality Testing
Test the various functions of the panel computer, such as the display, touchscreen (if applicable), keyboard, and mouse. Also, test the connections to other devices to ensure they are working correctly.
Application Testing
If you've installed specific software applications, test them to make sure they are functioning as expected. This may involve running sample tasks or simulations.
Maintenance and Support
Regular maintenance is essential to ensure the long - term performance of your industrial panel computer. Here are some maintenance tips:
- Cleaning: Regularly clean the screen and the exterior of the panel computer to remove dust and debris.
- Software Updates: Keep the operating system and software applications up - to - date to ensure security and performance.
- Hardware Inspection: Periodically inspect the hardware components, such as the cables and connectors, for any signs of damage.
As an industrial panel computer supplier, we offer comprehensive support for our products. If you encounter any issues during the installation or operation of your panel computer, don't hesitate to contact us.
Conclusion
Installing an industrial panel computer requires careful planning, proper installation techniques, and thorough testing. By following the steps outlined in this guide, you can ensure a successful installation and optimal performance of your panel computer. If you're looking to purchase an industrial panel computer, we offer high - quality products at competitive prices. Check out our [Buy Direct Factory Price' 19 inch Industrial Panel Computer. Customization OEM/ODM](Buy Direct Factory Price' 19 inch Industrial Panel Computer. Customization OEM/ODM) for more details. If you have any questions or would like to discuss your specific requirements, feel free to reach out to us for procurement and negotiation.
References
- Industrial Panel Computer User Manuals
- Industry Standards for Industrial Computer Installation
- Technical Documentation on Industrial Computer Components