

How do I set up a smart board for the office network connection?
Hey there! As a supplier of smart boards for offices, I often get asked about how to set up a smart board for office network connection. It might seem a bit tricky at first, but don't worry! I'm here to break it down for you in a super easy way.
Step 1: Check Your Office Network
First things first, you need to make sure your office network is up to the task. A stable and reliable network is crucial for the smooth operation of your smart board. You don't want any annoying glitches or slowdowns during an important presentation.
Start by checking the type of network you have. Is it a wired Ethernet network or a Wi - Fi network? Wired connections are generally more stable and faster, but Wi - Fi offers more flexibility. If you're using Wi - Fi, make sure the signal strength is strong in the area where the smart board will be placed. You can use a Wi - Fi analyzer app on your smartphone to check the signal strength and channel interference.
If you're using a wired connection, ensure that your office router has enough available Ethernet ports. You'll need to connect the smart board to the router using an Ethernet cable. Make sure the cable is in good condition and properly plugged in.
Step 2: Unbox and Position Your Smart Board
Once you've sorted out the network, it's time to unbox your smart board. Carefully remove it from the packaging and place it in the desired location in your office. Make sure the area is clean, dry, and has enough space around the board for easy access.
When positioning the smart board, consider the viewing angle. You want everyone in the room to have a clear view of the screen. Also, make sure it's at a comfortable height for interaction. Most smart boards come with mounting brackets, so you can mount it on the wall if you prefer.
Step 3: Power Up the Smart Board
After positioning the smart board, it's time to power it on. Connect the power cable to the smart board and plug it into a power outlet. Make sure the power outlet is working properly. Once you've connected the power, press the power button on the smart board. It might take a few minutes for the board to boot up.
Step 4: Connect to the Network
Now comes the important part - connecting the smart board to the office network.
Wired Connection
If you're using a wired connection, simply plug one end of the Ethernet cable into the Ethernet port on the smart board and the other end into an available Ethernet port on your office router. The smart board should automatically detect the network connection. You can then go to the network settings on the smart board to confirm the connection.
Wi - Fi Connection
If you prefer a Wi - Fi connection, go to the network settings on the smart board. Select the Wi - Fi option and scan for available networks. Choose your office Wi - Fi network from the list. You'll then need to enter the Wi - Fi password. Make sure you enter the password correctly, as a wrong password will prevent the connection. Once you've entered the password, click connect. The smart board will then try to connect to the Wi - Fi network. It might take a few seconds to establish the connection.
Step 5: Configure Network Settings
After connecting to the network, you might need to configure some additional network settings. For example, you might want to set a static IP address if your office network requires it. To do this, go to the network settings on the smart board and look for the option to set a static IP. Enter the required IP address, subnet mask, gateway, and DNS server information.
You can also configure other settings such as proxy settings if your office network uses a proxy server. Just follow the instructions on the smart board's network settings menu to configure these settings.
Step 6: Test the Connection
Once you've configured the network settings, it's time to test the connection. Open a web browser on the smart board and try to access a website. If the website loads successfully, then your smart board is successfully connected to the office network. You can also try other network - related functions on the smart board, such as sharing files or connecting to a network - attached storage device.
Step 7: Install Necessary Software and Updates
After testing the network connection, it's a good idea to install any necessary software and updates on the smart board. Most smart boards come with pre - installed software, but you might need to install additional software depending on your office needs.
Check the manufacturer's website for the latest software updates for your smart board. You can usually download the updates directly onto the smart board if it's connected to the network. Installing the latest updates will ensure that your smart board has the latest features and security patches.
Why Choose Our Smart Boards?
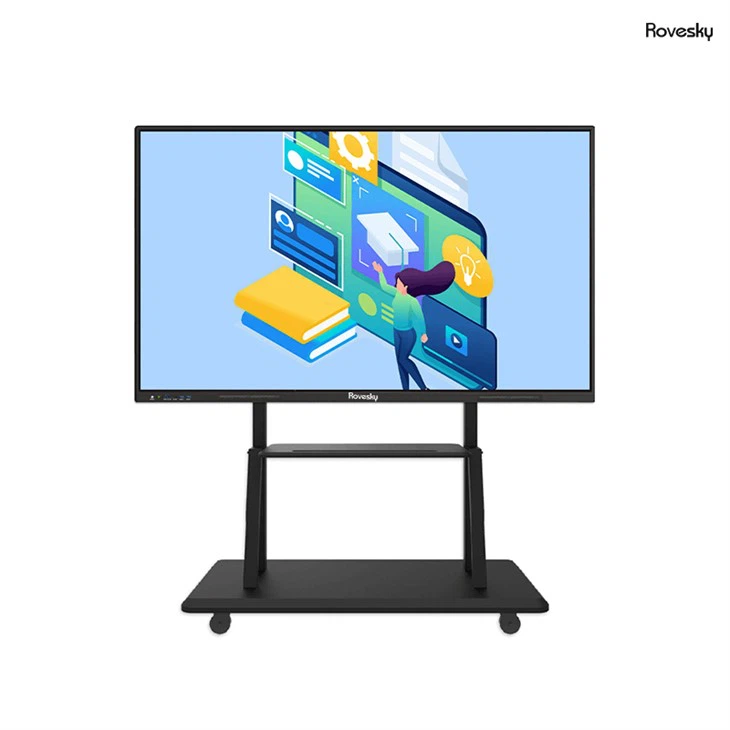
We're a leading supplier of smart boards for offices, and our 55 Inch Interactive Flat Panel,Smart Board Manufacturer China offers top - notch quality and performance. Our smart boards are designed with the latest technology to provide a seamless and interactive experience for your office meetings and presentations.
Our smart boards come with high - resolution displays, responsive touch screens, and powerful processors. They're also easy to set up and use, as you can see from the steps above. Whether you need a small smart board for a meeting room or a large one for a conference hall, we have the perfect solution for you.

Contact Us for Procurement
If you're interested in purchasing a smart board for your office, don't hesitate to get in touch with us. We can provide you with more information about our products, pricing, and after - sales support. We're here to help you make the right choice for your office needs.
References
- General knowledge about smart board setup and network connection.
- Manufacturer's user manuals for smart boards.